Sunday, December 16, 2012

Recovering kitchen chairs {DIY}

Having 4 boys can be rough on my home and my furniture. Our kitchen takes one of the biggest beatings on a daily basis. As embarrassing at it is, I'm not going too lie, my kitchen chairs are DISGUSTING! I try to keep the clean but these boys spill everything they eat or drink at every meal and it is just impossible.

This Christmas my in-laws are coming to visit, and although they have seen the mess it's still really embarrassing and I don't want them to have to see or sit on them. I have been talking for a long time about re-covering them. My mom used to do it and I've watched enough HGTV and DIY shows to know it is pretty simple to do, but I've been nervous still. I finally decided that it was time to give it a try and I was really impressed with myself! The only thing I wanted to do, should have done, but didn't do, was to to a plastic covering for easy future clean up. I actually will probably still do it, I just have to find the right kind of plastic.

So here, for your viewing pleasure, is how to re-cover kitchen chairs!
It is really quick and easy. I finished 4 chairs in an hour.

BEFORE (ewwww, I know)
Locate the screws on the bottom of the chair. Unscrew them and pop off the seat.
Pull the fabric around tightly and use a staple gun to secure the fabric. (I also hammered them in to make sure they were tight on the fabric)
Continue to pull the fabric around and fasten on the underside of the seat. Make sure you are keeping the front tight and flat)

Flip over the seat and make sure it is how you want it and then line it back up on the chair and reinsert the screws. Make sure you line it up evenly. 

AFTER (HORRAY!!!)


Sunday, October 14, 2012

Halloween Haunts {crafts}

I adore Halloween and all that surrounds it and one of my favorite things are little crafts! This year the boys painted some little ghosts. Simple and cute and a great way to remember how tiny their little hands/feet are... Yup, ghosts out of hands and/or feet! Below you will see the finish product of my spooky little boys. All you do is get some black construction paper, white paint, wiggly eyes, and a black marker and you are ready to go!


You start by painting whichever body part you want to use to make your ghost (my boys all wanted to make two and most of them wanted one foot and one hand) with the white paint. Gently press it onto the white paper and there ya go! Just let it dry and then add two wiggly eyes and draw on a mouth! So cute and so easy!

Saturday, September 29, 2012

Halloween Haunts {movies}


Well it's that time of year again, one of my favorites.... HALLOWEEN! My husband made a rule (that I break every year) that I have to wait until the first of October to start putting out my Halloween decorations. Here it is the 29th of September and much of my indoor decor is out and up and we have been listening to my spooky sounds for the past couple hours. we have, and by we I mean my boys and I, have been watching some "spooky" shows and movies we find on Netflix the past few weeks already O.o oops! I am, however, finding this a difficult task. The few I find on Netflix are too scary for my young boys and the others I want I have to get a DVD and I am way too impatient to deal with that. Tonight I am resigning myself and settling for Casper's Haunted Christmas. ::sigh:: I may have to start lining up the Goosebumps series on DVD since it is scary but at an appropriate level for the little kiddos. 

So now I am starting to think about DVDs I may just have to buy and have on hand for situations like this. So here is my list (that I am sure will grow AND I am welcome to more suggestions) of the best Halloween Haunts in the kiddo friendly movie realm:

1. Hocus Pocus PG
2. The Witches PG
3. Halloweentown (the whole series) PG
4. Casper PG
5. The Nighmare Before Christmas PG

And if anyone finds anything good on Netflix INSTANT I would love to know what is out there this year!
Stay tuned for more Halloween Haunts to come :-D

Friday, September 28, 2012

"working" mom

As if juggling school work and home isn't enough, and I didn't think a part time job was enough work, I am now about to start my 6th week of student teaching. OK. OK. I am not technically working, it's not really a job since I'm not getting paid... and I'm not doing it because I am really choosing to do so, but because I HAVE to in order to finish with my masters program. That said, I guess I could have put it off, but I already had pushed it back a few months and I was ready to get it done and over with.

All I can say is WOW! I don't know how people do it, to be a family with 2 working parents. I am so lucky that my husband is staying home with the boys during the day while I am working (saving us on daycare costs) and he is keeping up pretty well with the house work (for a man *wink*). But by the time I get home (almost 5pm most nights) and we have dinner, that my super awesome husband makes...well... he's been slacking a bit but that's another story... I hardly have time to see the boys or relax or do my homework let alone to clean. Truth be told I should probably be cleaning up right now. Hubby is upstairs putting the boys to bed and normally this would be my time to shower and pick out my outfit for the next day... Thank goodness it's Friday night so I don't have to deal with that. Instead here I sit, in a living room in shambles next to a kitchen that is a mess, in silence enjoying the little bit of peace.

I have to admit that I love student teaching. Since I was a little girl I have always known that was what I wanted to do with my life. Special education is a little different from how I invisioned my teaching career but I actually am really enjoying it. My cooperating teacher is awesome and I love everyone I have worked with. And I am so awesome they all want me to stay ;) OK maybe not but I am proud of my accomplishments and for the sacrifice I am making being away from my babies to go for my dreams. I am, however, looking forward to the end of student teaching when we get a looooong family vacation and then I get to stay home with my boys again for a while before I go to work for real (it will be so nice to get PAID to do what I love!)

Tuesday, September 25, 2012

Living through the itch

Growing up I have always had some issues with self confidence. I like to think that I have found a way to be more comfortable with myself as I have gotten older but some days are harder than others. For as long as I can remember I have suffered from red, itchy, flakey skin on different areas of my body. Never before have I thought of it as anything more than an irritation but now that I am getting older, and it is getting worse, I am accepting the fact that I have a disease. Usually I have young children questioning what is on my knees or my feet but the past few weeks more and more adults have been concerned and I realize it is more noticeable now than ever before. I suffer from psoriasis, an immune disease that causes my skin to grow faster in some areas. I have never been one to cover it up, I wear shorts and capris along with flip flops, but more and more I am feeling like I need to hide myself. There is no cure and no understanding of why it occurs, it isn't contagious and no treatments I have used seems to help any. I sit here, itching out of control, trying not to scratch to the point of drawing blood and I have been reading up on people that suffer even worse than I do and I am in tears. While I suffer from a moderate case, which covers more than 3% of my body, there are those that have to deal with the pain over a majority of their body and down into their joints causes arthritis, I can only hope my flare up stay in the moderate zone and progress no farther. I never thought I would ever put anything like this out there for the world to see, but here I am, over coming the embarrassment and living through the itch.

Sunday, September 9, 2012

Growing Avocados


When we were kids my little sister and my parents took the pit of an avocado and grew out the roots in a cup and planted it! We had a cute little avocado tree in our back yard. I have recently found my green thumb and am growing out the top of pineapple (two actually, instructions can be found HERE) and so I decided I wanted to try to grow an avocado tree too! I took two pits and only one seems to be growing successfully. You take three tooth picks and stick them in the top of the pit. Then you find a cup and you suspend the avocado pit using the tooth picks in the cup and keep it filled with fresh water. I saw conflicting advice on placement but both mine were in the front window of the house with lots of light. You will see after several weeks the pit break open followed by roots and inside you will see the start of the tree! My experiment will continue as I find a place to plant it and hope it continues to grow!

TUTORIAL **dryer balls**


 First you'll need to find and purchase 100% WOOL YARN. Depending on how big you make them and how many you want will determine how much you need. My first try with 8oz of yarn made like 5 1/2 so if I make them a little larger I can get 5 pretty good sized out of the same amount. I'm still learning this so I'll update as I figure it out more :) You will also need nylons to put them in when you are finished to felt them (must be done before using or it will fall apart)
Start by wrapping the yarn around your fingers with a little gap between them (I go about 10-15 times around)

Then tie tight around the center (again about 10-15 times)

Bring the ends in and start wrapping the yarn around to create a ball

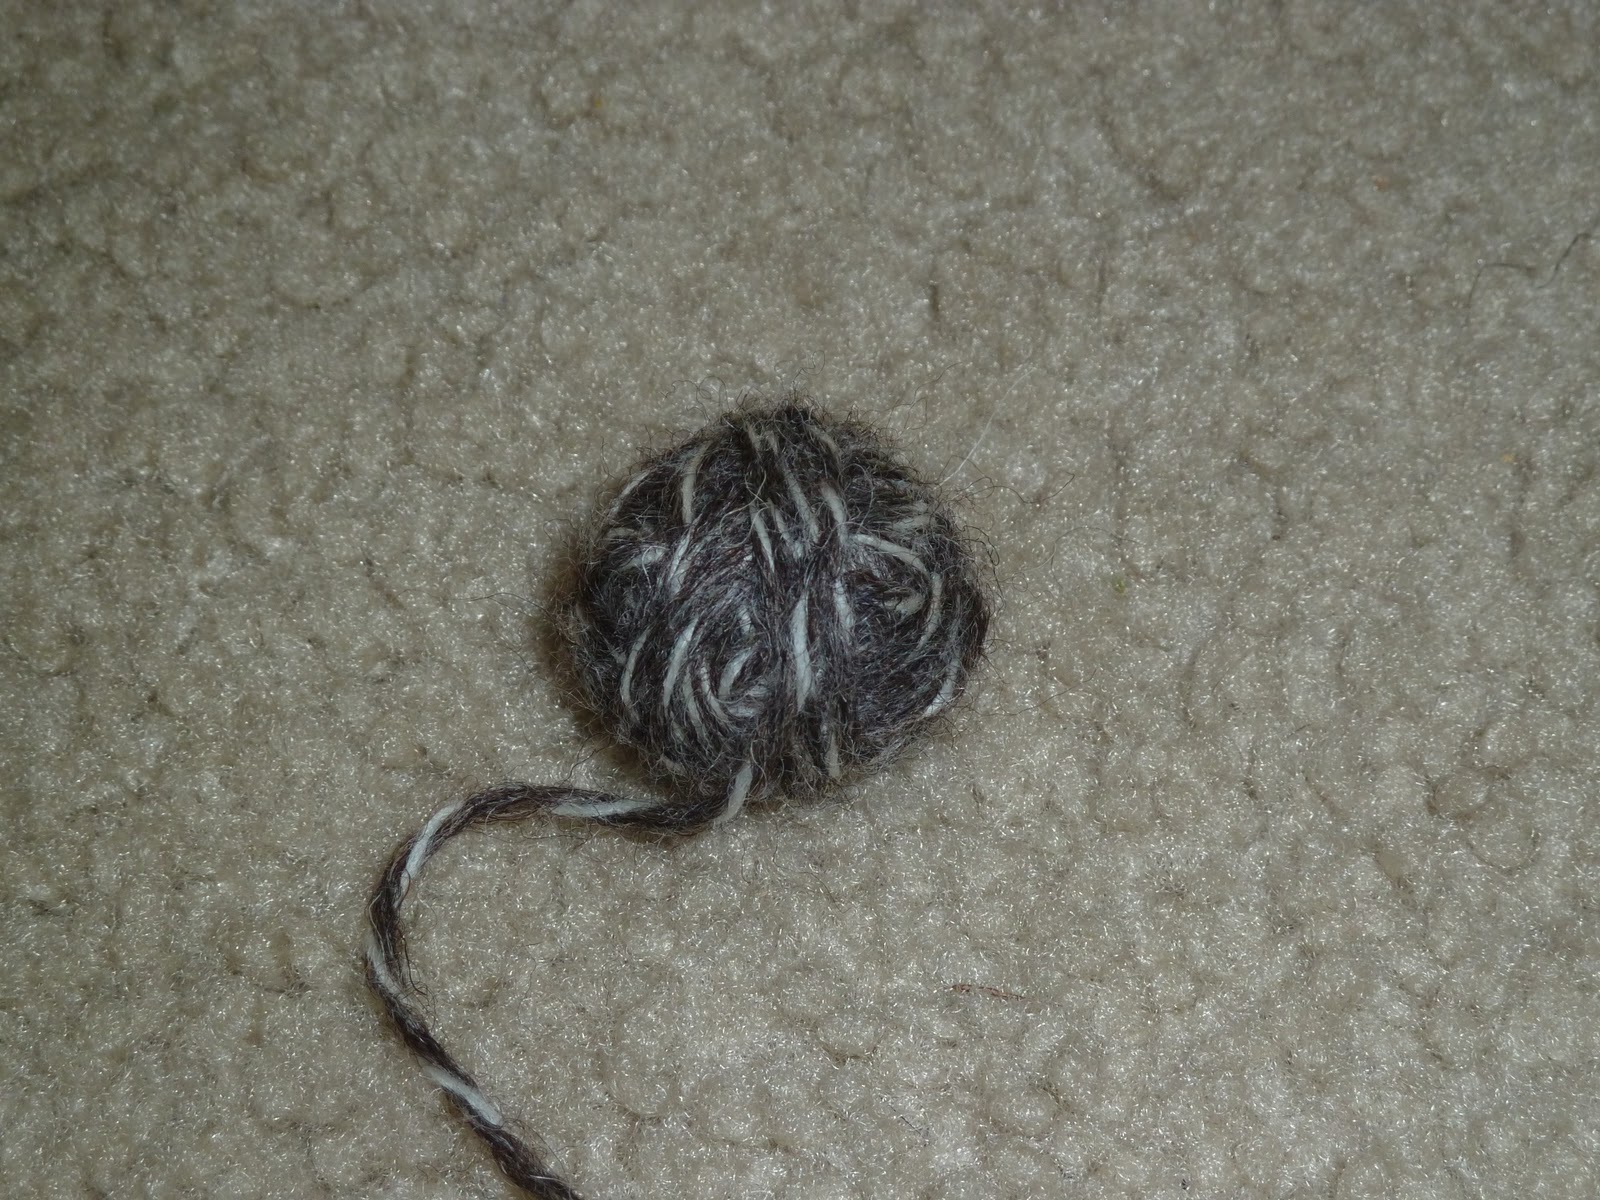
Continue to wrap creating a ball about the size of your palm (or whatever you decide is the best size for you) and then tuck in the end

Slide the balls into a nylon and tie it off between each ball
Put them in the washer on a hot cycle and then a hot dryer cycle and repeat as necessary to create a smooth surface
ta-da! dryer balls!
The more felted the get the better. You can also use wool roving to cover them :)